I illustrate everything I produce on the computer, using a Wacom graphic tablet -- it's like drawing on paper with a pen, only the "ink" goes right into the computer. I've talked before about how I draw with Flash, but I thought it might be more interesting to actually see an illustration being created. Thanks to a quick download of Windows Movie Maker, I therefore present the World Premier of the "How to Create a Digital Pen and Ink Drawing From a Reference Photo" video.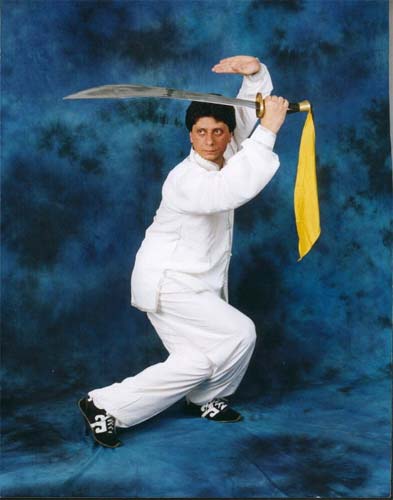 The first thing you have to do is to find a "reference photo", a photograph you use to form the base of your drawing so you don't have to come up with everything from scratch. I decided to make a "kung fu" character, so I went to Google Images and did a search for "kung fu". The image to the right here caught my eye -- I liked the stance and the way the pants creased and folded. He looks (no offense) a little dorky, but I knew I could fix that in the drawing process.
The video starts after the image has been imported into Flash (using either the old reliable Cut and Paste or File - Import). I sized it to fit on the canvas and started recording. In real-time this took 12 minutes, though I've doubled the speed so it will only take six minutes. There's no audio, it's visual-only.
Here's the video:
What You're Seeing:
Here's the finished product: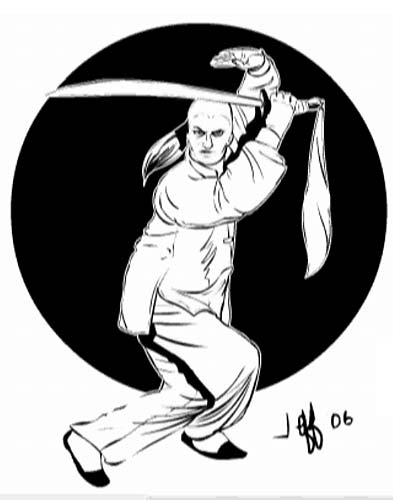
Hope you enjoyed this brief look into how you can use your computer as a lightbox, pen and ink quill, bristol board, intermediate and finishing illustration desk, all in one!
Monday, November 27, 2006
How to Create a Digital Pen and Ink Drawing From a Reference Photo
Subscribe to:
Post Comments (Atom)


3 comments:
I thought you meant Flash the Shiloh Shepherd.
WOW! I'm stunned. Everytime I try using MS Paint or something like that to just outline stuff or make circles & boxes it looks like someone with parkinsons disease got loose with my mouse.
I know someone who uses his notebook screen as a lightbox & lays tracing paper over photos to do pencil & charcoal drawings of his dogs. They come off with a really neat effect. Don't know what the notebook thinks about it.
Ummm... Yeah, that's the way I do it, too.
Now that everyone knows our secret, I guess I'll have to get back to work on my novel.
Ummm, yeah, I'm with Jimmy Mac. I read all the comments on this. Got lost around "Flash" and somebody doing something with charcoal. How you figured all that out is incredible. You youngsters... always on the cutting edge. Next thing you know, we'll be landing on the moon... what's that... well, okay, keep on drawin' Jeff. Your dinosaur sister -- Denise
Post a Comment